Start by opening you vCenter Client and connect to the ESXi hypervisor, or vCenter Server.
Click on the hypervisor on the left and then the Configuration tab. Then click the Health Status option on the left.
Here you see there is no monitoring or options for the storage controller.
From the Lenovo support site we will download the RAID drivers for VMware, once its downloaded unzip and find the VIB file. Copy this file to a temp location for use later.
From LSI we will download the Latest MegaRAID StorCli, again extract the VIB file to the temp location.
From LSI we also grab the MegaRAID SAS SMIS VIB file.
 We also will need the LSI MRM (MegaRAID Manager) for windows installer.
The last two files we will use are winSCP and Putty.
Go ahead and install winSCP with the default settings. You will need to put Putty in the c:\program files(x86)\Putty directory in order to launch it from winSCP.
We now need to enable SSH on the VMware Server so we can transfer some files and run some commands.
You can change these settings on the configuration tab and then on the left choose Security Policy.
Click properties in the top right corner to edit these settings.
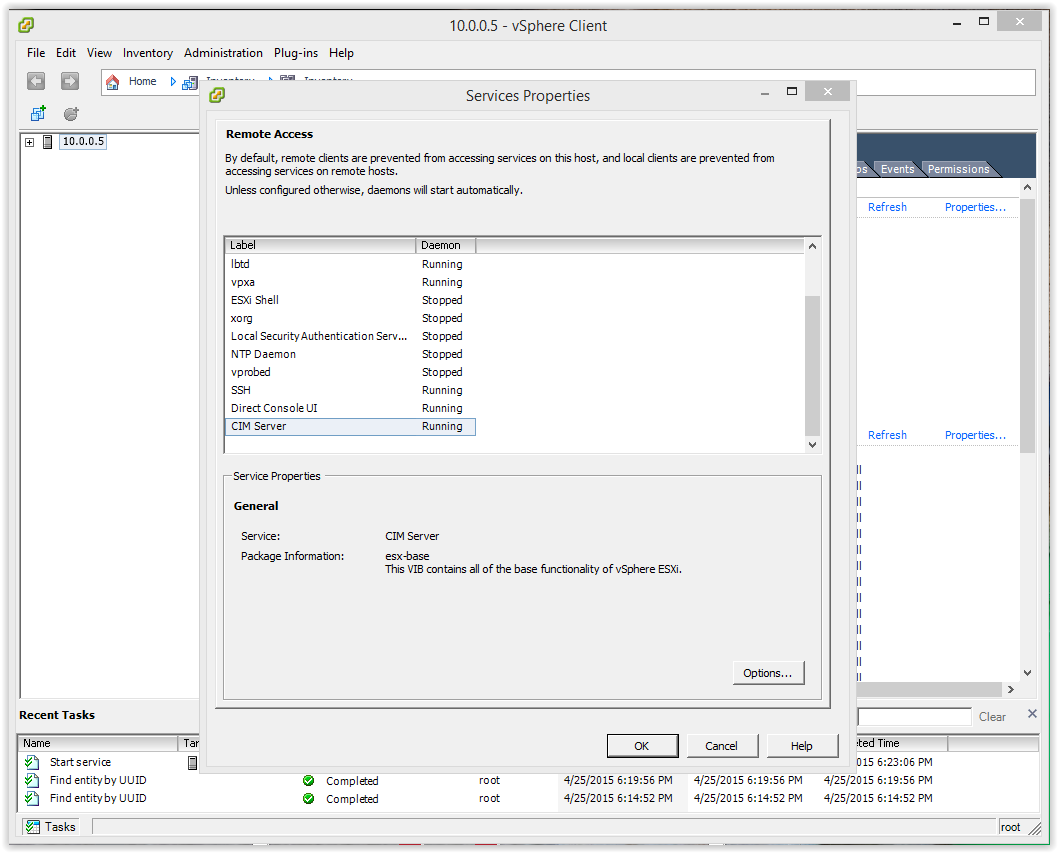
Scroll down to SSH and choose Options
Under startup policy click Start Automatically and then click start. This will enable the SSH immediately.
Verify the CIM server is also started. if this is not started perform the same steps to be sure
We will use winSCP for this purpose. So we start by opening up winSCP.
We will use winSCP for this purpose. So we start by opening up winSCP. We can create a new login profile here and save it if needed.
Once connected in the tree view click the TMP folder to change to this folder.
Copy the VIB files we downloaded before
Paste the VIB files into the TMP directory on the ESXi server.
We can now launch the Putty program we installed earlier.
Once the connection with putty is established and we have logged in with authentication we can run the software VIB installations.
they should look like this,
esxcli software vib install -v /tmp/lsi-mr-500-700.vib --no-sig-check
esxcli software vib install -v /tmp/MegaCli-8.07.07.vib --no-sig-check
esxcli software vib install -v /tmp/vmware-esx-provider-lsiprovider.vib --no-sig-check
These file names are case sensitive so be sure they are identical to the filenames you uploaded to the TMP folder.
Once the VIB files are installed, power off the virtual machines and reboot the ESXi hypervisor. If you want to see what VIB packages are installed you can run the command
esxcli software vib list | head
esxcli software vib list | head
Once the reboot is complete on the configuration tab you should now see the new storage container and in it the controller, ports and drives with status updates.
It can take a few minutes before this container is fully populated so be patient.
We need to verify the DNS is setup properly, if you have physical access to the server this is easy, just press F2 and check the settings.
In this case we don't so we use Putty again to connect to the ESXi server again.
Once you login and authenticate run the command
DCUI
In this case we don't so we use Putty again to connect to the ESXi server again.
Once you login and authenticate run the command
DCUI
This screen should look familiar. Login using your root password.
Choose to configure the management network.
On the next step you will want to choose both DNS Configuration and Custom DNS Suffix.
On the next step you will want to choose both DNS Configuration and Custom DNS Suffix.
Enter the proper DNS Suffix
Enter the proper DNS Name of the server
You can close and putty now and login to the domain controller or server where you want to install the LSI MSM Software.
Browse to c:\windows\system32\drivers\etc
open the HOSTS file with notepad.
Enter the name of the ESXi server and the domain suffix. I always enter them as both IP and DNS and DNS and IP.
Once this is done save the changes and be sure the DNS A records are also added manually to the forward lookup zones in Windows DNS.
Now you can install the LSI MegaRAID Software with the defult settings.
Once its installed and opened it will look similar to windows, however if you click the server name you will see it just shows one standard disk, no controllers, and no options.
You will want to click the "Configure Host" option.
Select the Display all the ESXi-CIMCM servers option and click save settings.
Now when you run the discovery option it should find your ESXi server at the proper IP of the hypervisor.
Login using the ROOT username and password.
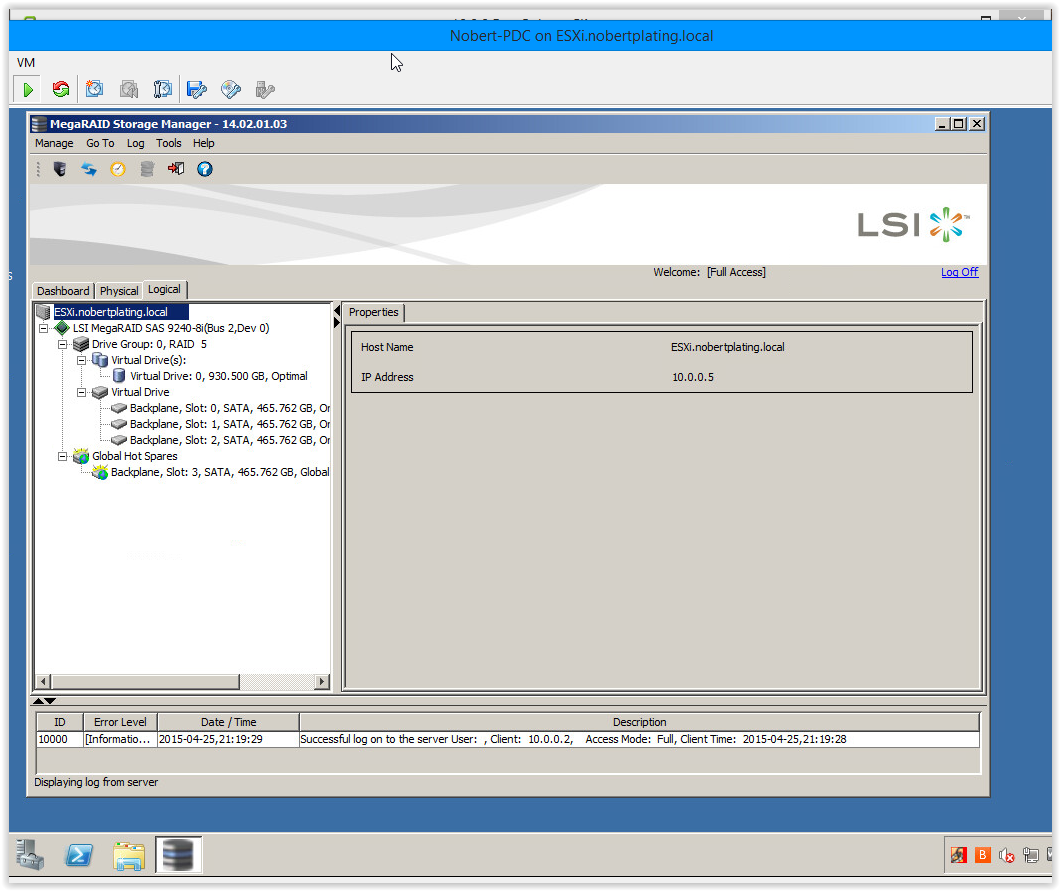
Your MSMS software should be ready to use, you have the ability to edit the controller, physical drives and the logical arrays.
This means you now have the ability to make drives as bad and good and rebuild the array without powering off the VMWare server.


No comments:
Post a Comment