Launch the SQL Server Management Studio from the start menu.
Login to the SQL Server as the SA User.
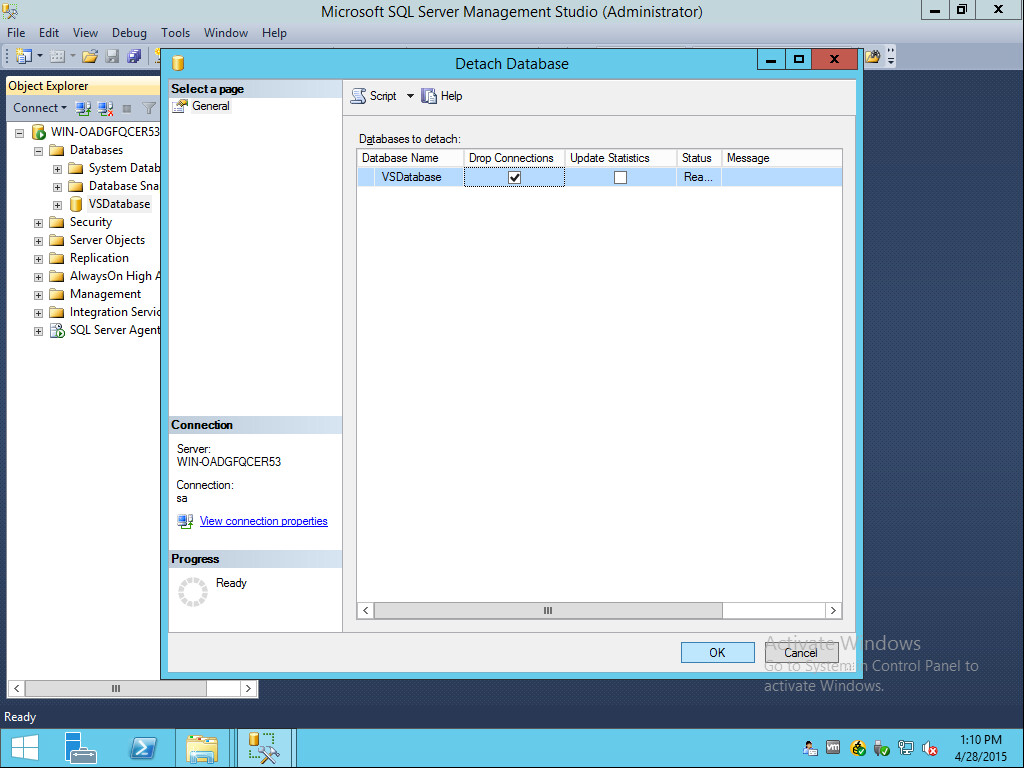
Right click the database you wish to detach and remove from the system.
Highlight over Tasks and then select Detach.
Click the option to Drop Connections and then click OK.
The Database will be removed from SQL.
You can now browse to the default SQL Data folder and copy the file to a new server.
Once the Files are detached and moved on the new server you would open SQL Once again. This time right clicking on the Databases folder you will want to choose Attach from the list.
Click the Add button on the following page.
Browse to the location of the SQL MDF file and choose OK.
The Database will be attached and is not accessible under the Databases folder on the server.
Now that the attach is complete we should update the SQL Server with some information about our new database.
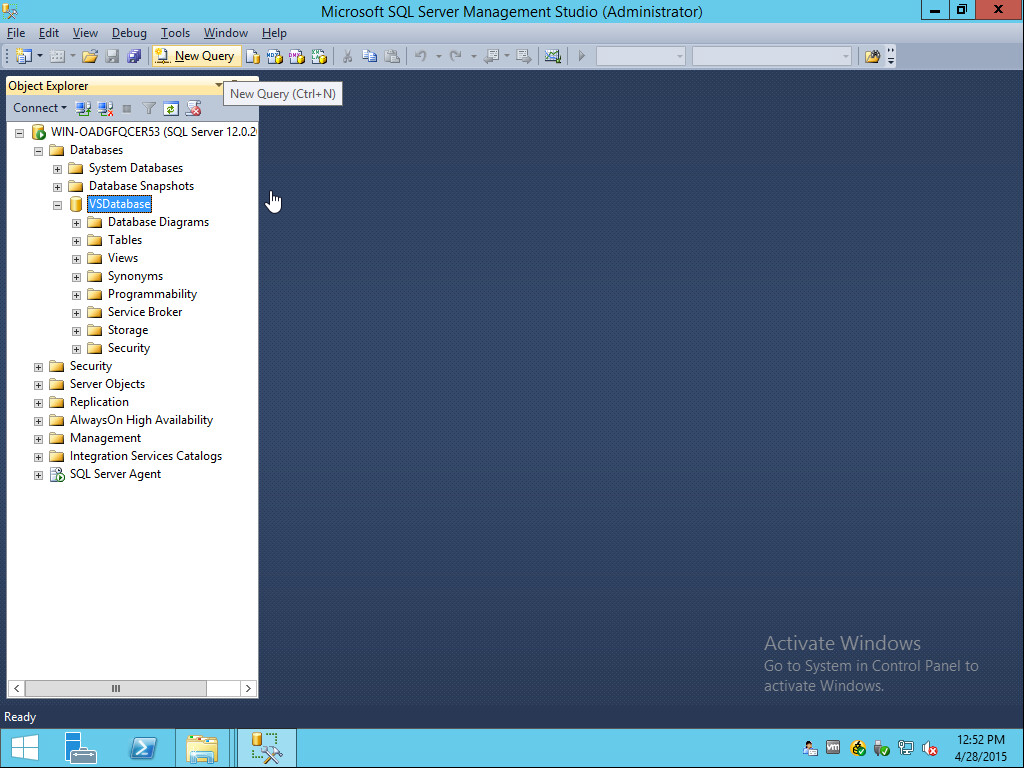
Click on the Database name on the left tab and at the top of the page click the "New Query" button. This will open a new page on the right of the screen.
Enter in new windows "SP_UPDATESTATS" this is not case sensitive and does not need the quotes. Once entered press the Execute button to run the script.
The results will display down below.
Next enter the command
DBCC Updateusage(DBName)
and press the execute button. Replace DBName with your Database name found on the left side.
Again the results are displayed.
Finally we will run the Integrity and Optimization checks built into SQL.
Type DBCC CheckDB and press execute.
Your Database should return no Integrity and Optimization errors.


No comments:
Post a Comment